
If you don't have a cake pop machine, then you could always use these directions here. This shows the traditional way to make them, and you don't need any special tools.
After they were cool, we needed to put the sticks in. I used the lollipop sticks that came with the cake pop maker (you can always find some more at Michaels) and long wooden skewers, because we needed some on longer sticks (and we had those lying around). We dipped the sticks in chocolate and stuck them in the cake ball. Then they went into the freezer for about 15minutes. This makes them easier to work with and ensures that they do not fall off the sticks.
 Then it was time to dip them in icing. I used the recipes here from the book that came with the cake pop maker. We did chocolate icing and vanilla glaze. Both were extremely easy to work with. The only challenge was finding the best consistency. Too warm and it dripped too much, too cool and it wasn't smooth.
Right after dipping they were decorated with sprinkles, nuts, toasted coconut, toffee bits...pretty much
whatever we had. I bought some cool sprinkles at Bulk Barn, but not nearly enough. It worked to roll the pops in the toppings, but sprinkling some on the tops also looked neat. I left a few with just plain chocolate, and later I melted blue candy melts (from Bulk Barn) and piped on designs with a piping bag, using the smallest tip I had.


Once home I made the display. I had already bought a flower pot and floral foam (can find both at the Dollar Store). I filled the bottom of the pot with the floral foam and then started sticking the cake pops in. I was going for a "flower arrangement." Basically put the longer ones in the middle and used shorter ones as I went around.
Here is how it turned out.... Like?!

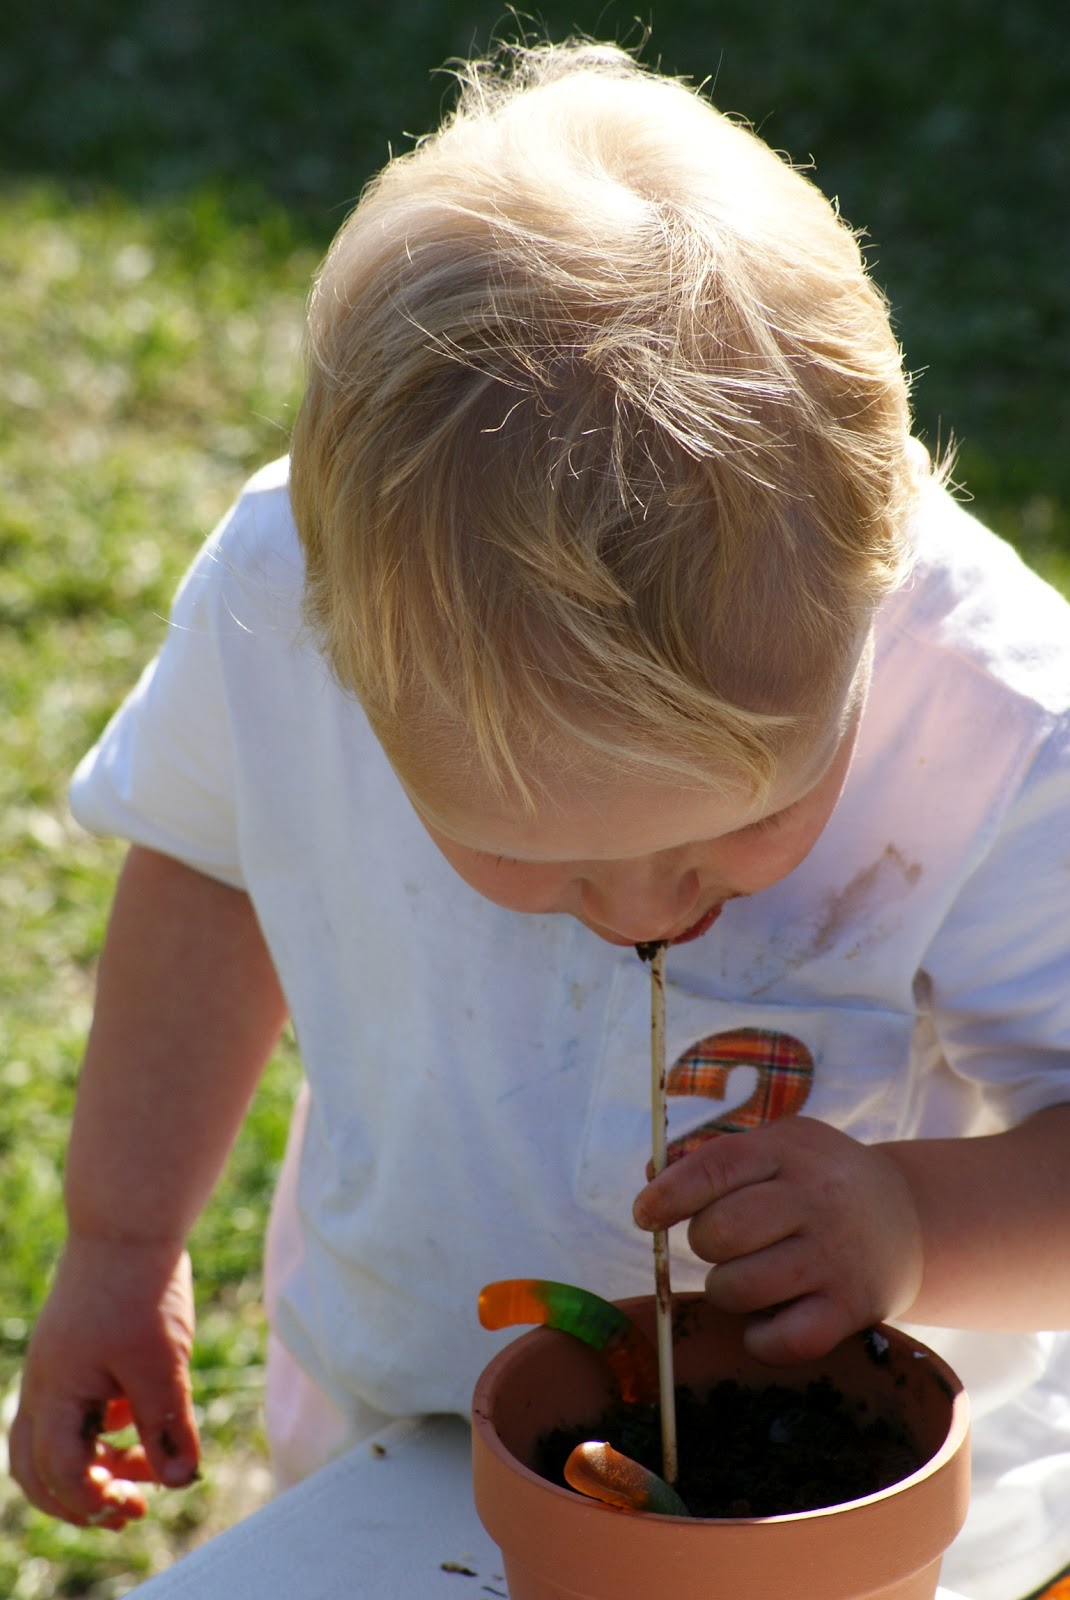
I also made a cake just for Little Dude. I baked a small cake directly in a flower pot. Once it was done baking I crumbled the cake a bit to look like dirt. I then added a few gummy worms coming out. Cake Pop in the middle, candles and viola! I wanted him to be able to blow out the candles, which he couldn't do on the big arrangement. Here is his little cake!


It was good I did because the cake pops went fast!
Overall, the party was a success and the cake pops were a hit! Everyone loved them and they are perfect for a kids birthday party. No forks, plates and clean-up later...well maybe a bit of laundry...
Those looked delicious! I can see little santa and reindeer heads made of cake at christmas :)
ReplyDelete--Kelsey K